 Shark Bite
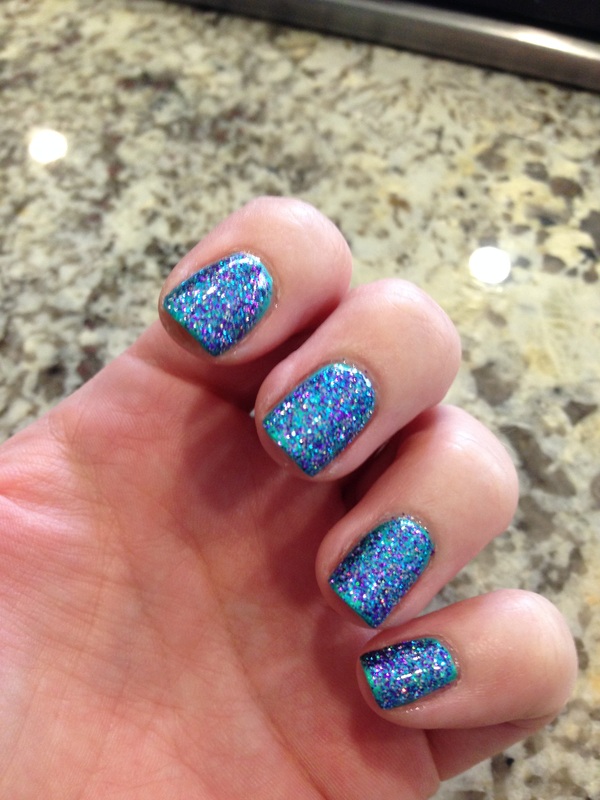
 Milly's first glitter polish! This one is called Shark Bite.
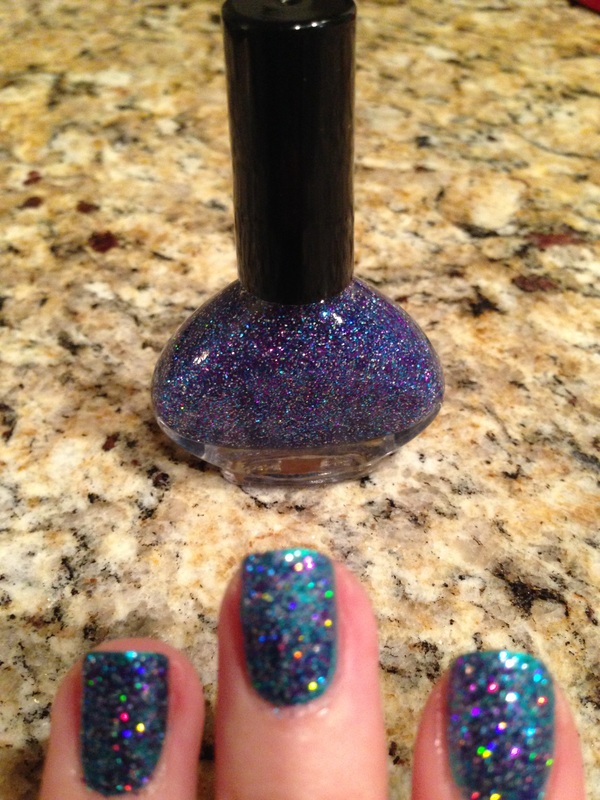
It is filled with blue, purple, and regular holographic glitters. I layered it over Blue Lagoon - about 3 coats.
My suspension base holds extremely well! The glitter has yet to sink down at all and it's been over 36 hours since I made it!
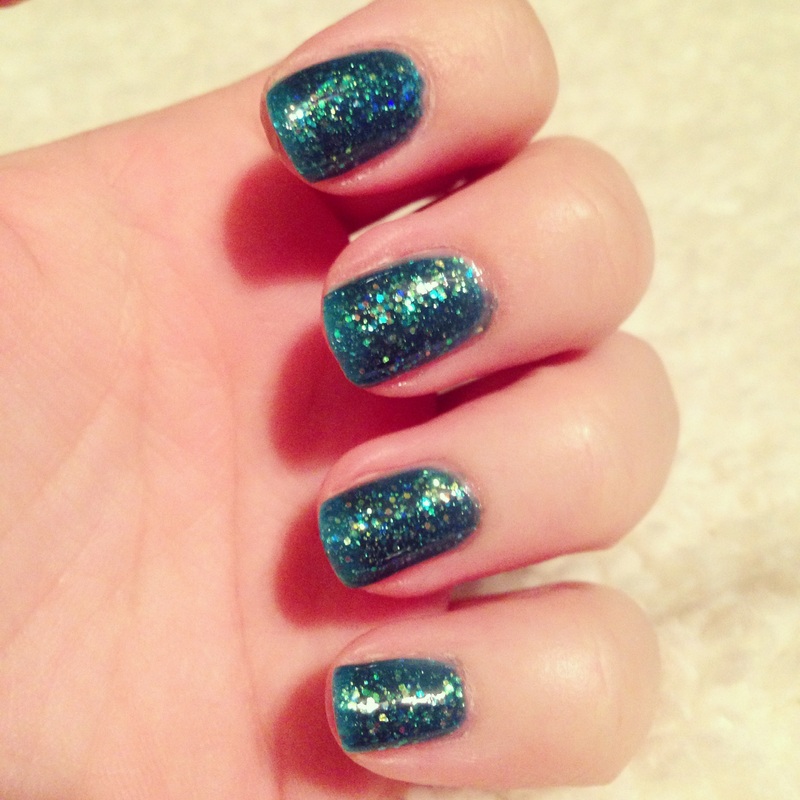
It is filled with blue, purple, and regular holographic glitters. I layered it over Blue Lagoon - about 3 coats.
My suspension base holds extremely well! The glitter has yet to sink down at all and it's been over 36 hours since I made it!


 RSS Feed